Housekeeping

Get Rid of Wine Stains: A Comprehensive Guide

Remove stubborn wine stains with these effective methods

Get rid of wine stains

Introduction

Wine is a staple in many homes and social gatherings, but it's also one of the most notorious substances for staining. Red wine, in particular, is notorious for leaving behind stubborn marks that are difficult to remove. While the sight of a red wine stain can be a party pooper, the good news is that with the right methods and ingredients, you can effectively get rid of wine stains.


How to Remove Wine Stains from Clothes

White Wine to the Rescue:

Believe it or not, white wine can actually help remove red wine stains! If you happen to spill red wine on your clothes, quickly pour some white wine on the stain to help dilute it. Then, rinse the garment with cold water and place it in the washing machine with a stain-fighting detergent.

Vinegar and Baking Soda:

Vinegar and Baking Soda Two of the most natural and effective methods for removing wine stains from clothing are vinegar and baking soda. Make a paste by combining equal parts of white vinegar and baking soda. After applying the paste to the stain, allow it to dry for fifteen minutes. After that, wash the garment as usual and rinse it off with cold water.

Salt:

Another natural ingredient that can assist in removing wine stains from clothing is salt. Simply apply salt to the stain, allow it to dry for ten minutes, and then wash it off with cold water. This can be done again and again until the stain is gone.


How to Remove Wine Stains from Carpet and Upholstery

Blotting:

How to Remove Wine Stains from Carpet and Upholstery Blotting: Blotting is the first step in removing wine stains from carpet and upholstery. Use a white, clean cloth to blot the spill. The wine will be absorbed as much as possible by this, preventing the stain from spreading.

More Vinegar and Baking Soda:

Vinegar and baking soda can be used to remove wine stains from carpets and upholstery, just like they can be used to clean clothes. Make a paste by combining white vinegar and baking soda in equal parts and applying it to the stain. After 15 minutes, remove it with a white, clean cloth.

Club Soda:

Another effective method for removing wine stains from carpet and upholstery is club soda. Simply apply the stain with club soda and blot with a white, clean cloth. Continue until the stain is removed.


FAQs

1. What should you do if the wine stain is already present?

It is still possible to remove the wine stain even if it has already established itself. However, it may require additional effort and multiple treatment sessions. Try combining vinegar, salt, baking soda, or club soda.

2. Can wine stains be removed with hot water?

When removing wine stains, avoid using hot water because heat can set the stain and make it harder to remove. Instead, use cold water.

3. Can I use bleach to remove wine stains?

Bleach is not recommended for removing wine stains as it can cause discoloration or fading of the fabric. Stick to using natural ingredients such as vinegar, baking soda, salt, or club soda for the best results.

4. Will these methods work for all types of fabrics?

These methods are suitable for most types of fabrics, including cotton, linen, and polyester. However, it's always best to check the care label on your garment to make sure that the fabric is suitable for the specific method you're using.


Conclusion

Wine stains can be a frustrating problem, but with the right methods, they can be effectively removed. Whether you're dealing with a red wine stain on your clothes, carpet, or upholstery, try using white wine, vinegar baking soda, salt, or club soda to get rid of the stain. Remember to always test the solution on a small, inconspicuous area of the fabric first to ensure it doesn't cause any discoloration or damage. Now, you can enjoy your glass of wine without the worry of stubborn stains! Get rid of wine stains with ease and keep your belongings looking their best.

If you're still struggling with removing wine stains, don't worry. Our professional cleaning services are here to help! Contact us today and let us handle your cleaning needs.

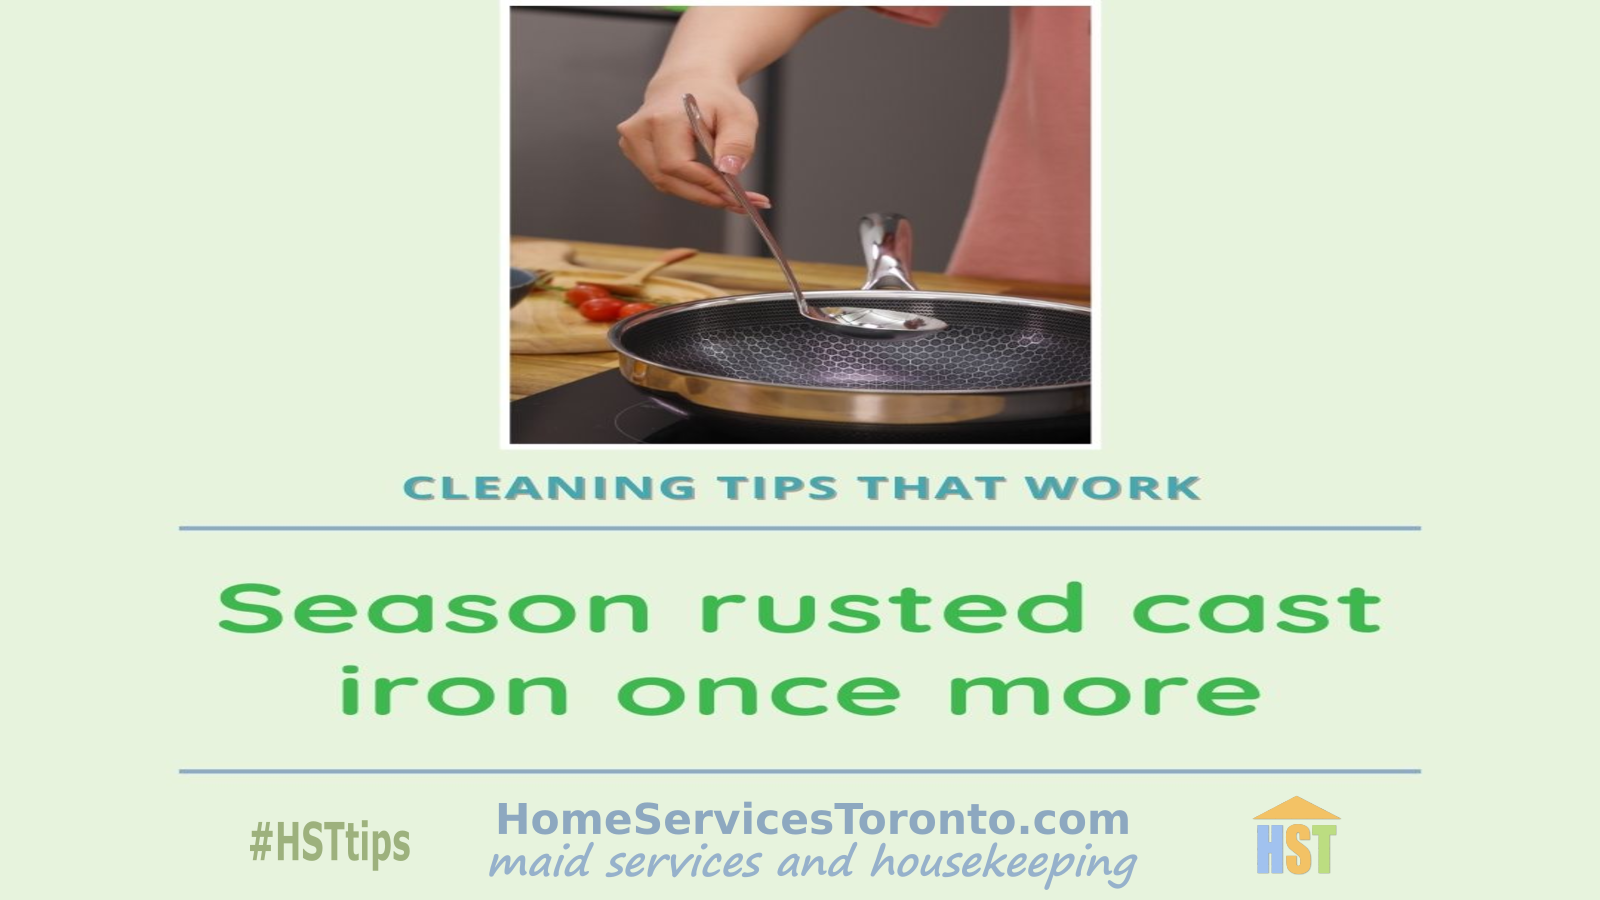
The Ultimate Guide to Restoring a Rusty Cast Iron Skillet

The ultimate guide to restoring a rusty cast iron skillet

The ultimate guide to restoring a rusty cast iron skillet

Cast iron skillets are a staple in many kitchens. They are versatile, durable, and can last for generations. However, if not properly cared for, they can rust and become unusable. In this guide, we will show you how to restore a rusty cast iron skillet to its former glory.


Why Cast Iron Skillets Rust

Cast iron skillets are made of iron, which is prone to rusting when exposed to moisture and air. When a cast iron skillet is not properly seasoned or stored, it can rust. Rust can also occur if the skillet is washed with soap or left in water for too long.


How to Remove Rust from a Cast Iron Skillet

Removing rust from a cast iron skillet is a simple process that can be done with a few household items. Here’s what you’ll need:

  • Steel wool

  • Sponge (with a scrubber side)

  • Mild dish soap

  • Vegetable oil

  1. Scour: Ignore all those times you’ve been told to be gentle with your cast-iron skillet. The reason to be gentle while cleaning is to preserve the seasoning. The iron itself is virtually indestructible. Here, you’re going to strip away all the rust (and the seasoning). Don’t worry-we’ll add more seasoning later. It’s going to take a little bit of elbow grease and a hard abrasive tool to remove the rust. Get the pan wet, add a little soap, and then go to town with your scrubber (depending on the level of rust, a tough sponge will do). Scrub in small circles, focusing on the rustiest parts first. Continue scrubbing until you see the original black iron emerge. Test Kitchen tip: Have a newer pan that’s developing small amounts of rust? There’s an easier way to restore it to new. Simply dampen a paper towel with oil and use it to wipe away the rust. Continue wiping the entire skillet, then skip to step 3.

  2. Rinse: At this point, you’ve likely worked up a copper-brown mush. Rinse that gunk off in the sink. Make sure your skillet is totally clean by doing another scrub this time with a soft soapy sponge. Buff off any residue or rusty bits that remain.

  3. Dry: With the rust completely removed, your cast-iron skillet should be looking almost back to normal. But without any seasoning, it’ll have a dark gray, matte finish. Dry it off with a clean dish rag. (Psst. Don’t use a rag you’re fond of. The skillet can leave dark stains!) To dry it completely, place the skillet on the stove and turn on the heat for a few minutes. Any lingering moisture will evaporate right off.

  4. Season: Once your skillet is dry, it’s time to season it. Seasoning is the process of adding a layer of oil to the skillet to protect it from rust and give it a non-stick surface. To season your skillet, rub a thin layer of vegetable oil all over the skillet, including the handle and bottom. Place the skillet upside down in the oven and bake at 350°F for one hour. Let the skillet cool in the oven.

FAQs

Q1. Can I use a dishwasher to clean my cast iron skillet?

No, you should never put a cast iron skillet in the dishwasher. The high heat and harsh detergents can strip the seasoning and cause rust.

Q2. Can I use soap to clean my cast iron skillet?

Yes, you can use soap to clean your cast iron skillet. However, you should use mild dish soap and avoid soaking the skillet in water for too long.

Q3. How often should I season my cast iron skillet?

You should season your cast iron skillet after every use. This will help protect it from rust and keep it non-stick.

Q4. Can I use metal utensils on my cast iron skillet?

Yes, you can use metal utensils on your cast iron skillet. However, you should avoid using sharp metal utensils that can scratch the surface.

Q5. How do I store my cast iron skillet?

To store your cast iron skillet, make sure it is completely dry and lightly oiled. You can stack your cast iron skillets, but make sure to place a paper towel or cloth between them to prevent scratches.

Conclusion

A rusty cast iron skillet may seem like it’s beyond repair, but with a little elbow grease and some household items, you can restore it to its former glory. Remember to always properly season and store your cast iron skillet to prevent rust from forming. With proper care, your cast iron skillet can last for generations.

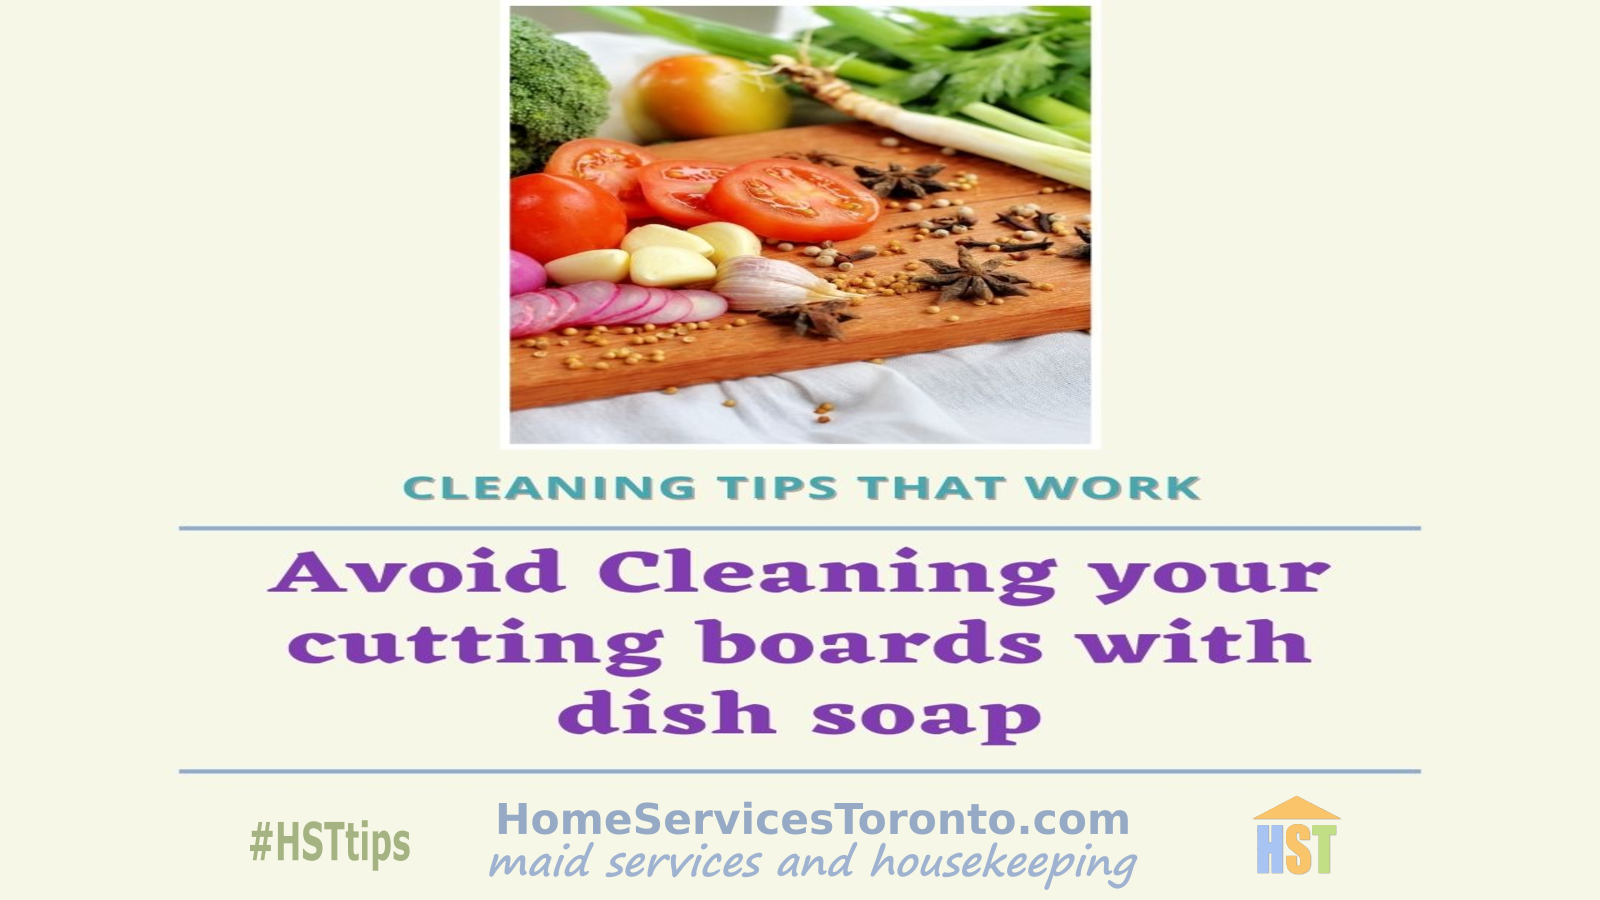
The Right Way to Clean Your Cutting Boards

The right way to clean your cutting boards

The right way to clean your cutting boards

Cutting boards are necessary kitchen tools that must be cleaned properly. Cutting boards need to be cleaned regularly, but they also need to be cleaned correctly. This will keep them safe and clean for you and your family, extend their lifespan, and prevent cross-contamination. We will provide a comprehensive guide on how to clean your cutting boards correctly in this article.


How Important It Is to Clean Cutting Boards

While cutting boards are an essential component of any kitchen, they also serve as a breeding ground for germs and bacteria. They are constantly exposed to moisture, food residue, and other contaminants, which is why this is the case. Cutting boards must be cleaned on a regular basis to avoid cross-contamination, extend their lifespan, and maintain their safety and hygiene.


Cutting Boards of Various Kinds

Plastic, bamboo, and wooden cutting boards are just a few of the many options available on the market. It is essential to know the specific care instructions for your cutting board because each type of board necessitates a different method of cleaning. This will guarantee effective cleaning and extend its lifespan.


How to Clean Plastic Cutting Boards Properly

Sanitizing and cleaning plastic cutting boards is simple. Simply wash them in warm, soapy water and allow them to dry naturally. You can disinfect them with a bleach solution of one tablespoon to one gallon of water for a more thorough cleaning.


How to Clean Bamboo Cutting Boards Properly

Bamboo cutting boards are more durable than plastic ones, but they do require some extra care. Wash them with warm, soapy water and let them air dry to clean them. They can warp and split if they are subjected to too much moisture. Rub a lemon that has been cut into pieces over the bamboo cutting boards to sanitize them.


How to Clean Wooden Cutting Boards Properly

Cutting boards made of wood are beautiful and give your kitchen character, but they need special care. Wash wooden cutting boards in warm, soapy water and let them air dry to clean them. They can warp and split if they are subjected to too much moisture. Rub wooden cutting boards with a lemon that has been cut and sprinkled with salt to clean them.

Cutting boards are necessary kitchen equipment that must be properly maintained and cleaned. We've included a thorough tutorial on how to properly clean cutting boards in this article. No matter if you have a cutting board made of plastic, bamboo, or wood, it's crucial to know how to properly take care of it. Cutting boards will last longer, be safer, and be more hygienic for you and your family if they are cleaned frequently to avoid cross-contamination. Consider using professional cleaning services if you require assistance with cleaning your house or place of business. You can rely on our skilled and trained personnel to keep your area tidy and organized. Make an appointment for a cleaning by contacting us right away.